The previous blog and activity inspired me to participate in the e-learning challenge #62 - How to survive the Holidays. This challenge was set by David Anderson the Community Manager at Articulate. I became a member of the Articulate Community a few months ago, but hadn't published anything until now. I hope you enjoy the challenge of collecting four Christmas items before the shops close. I'd love to know how you got on with this activity.
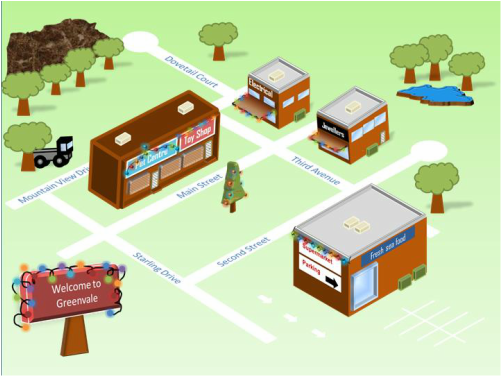
The purpose of this activity was to create two markers and modify the settings accordingly. One option was to hover over the marker and the title appears or the whole item, or you could wait for the person to click before opening the full item. The markers can hold text, videos or images. So, with one marker I added a video and the other text. I really liked this activity. Take a look at it, and let me know what you think. Please note there is no sound for the video.
These state changes, took me a little while to get my head around what was happening. It was mostly likely due to the intensity that I was ploughing through all the activities. So the purpose of this activity was to set up two different states one appeared when you hovered the mouse over the tab, called the Hover state, The other state appeared after you clicked on the tab, which was called the Visited state. Check them out and let me know how you got on!
This was a fun activity. There were a couple of slides included in this activity. The first slide included two smaller books hidden behind a larger book. I was required to set up an automatic trigger with a delay, to have the two smaller books pop out from behind the larger book and land on a specific location. The second slide required me to set up a trigger on the left and right buttons, so as you click left button the box moves to the left, if you continue to click on the left button it continues to move to the left. The same goes if you press the right button, the box moves towards the right of the screen. This requires a Relative Start Point to be set on the left and right motion paths. Test them out then let me know how you got on.
I added and created a button titled “Learn More” so viewers could go to another layer to watch a video. Once the viewer had finished watching the video I needed a way to close the layer and return the viewer back to the main slide. Therefore I set up a trigger (the red cross) to stop the video and return to the original slide. Please note there’s no sound file attached to the video.
This was the start of the excitement for me. I created five triggers all on one slide. The triggers were, Click, Mouse Over, Drag and Drop, Visited and Hover. Test them out below by clicking on the image to launch Articulate Storyline 2. Once the application is open you can test out the triggers.
This was relatively easy as Storyline 2 has a lot of the same features as PowerPoint, which I've been using for years. The first slide is the original and the second slide is my design following the general gist of the instructions.
I've tried for months to find a website that will allow me to place Articulate Storyline 2 published files online. Now, through the help of the e-learning heroes, I've finally managed to load and link my Storyline 2 files. So, here's the first activity using Articulate Storyline 2.
The purpose of this activity is to add a trigger. When the trigger is activated the person's expression will change and say something. The trigger has been built into the Button. ie press the Button and see the facial expression change and the speech bubble appears with text. First click the image to Launch Articulate, when it loads click the Button and watch the changes. (very simple I know), but hey, this is the first activity on how to use Articulate Storyline 2 and everyone has to start somewhere! |
Archives
June 2015
Categories |